
D
Stuffing-box bore
Measure the internal bore where the packing sits. Check for wear or taper that could change the effective clearance around the shaft.
Use the working bore, not an external casting dimension.COMPRESSION PACKING REFERENCE
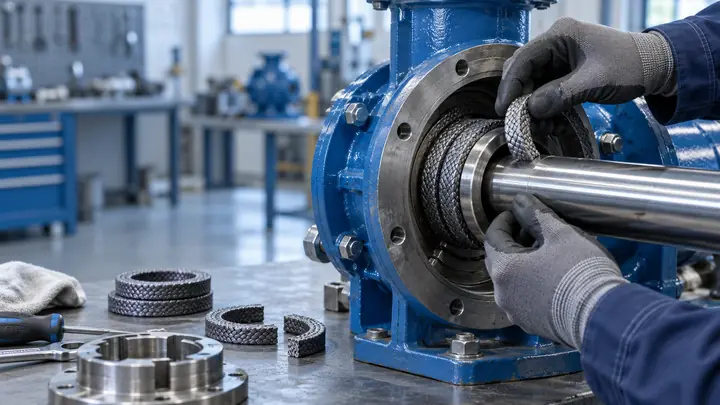
Install pump packing into a clean, serviceable stuffing box. Measure the hardware, cut individual rings to fit the shaft or sleeve, seat every ring separately, stagger the joints, align any lantern ring with the flush port, and bring the gland down evenly before controlled run-in.
INSTALLATION BASICS
Compression packing does not become a uniform seal simply because the gland is tightened. The first rings must be fully seated at the bottom of the stuffing box so later gland load can pass through the set without leaving loose zones, voids or a misplaced lantern ring.
Ring fit is established before the first ring enters the box. Shaft or sleeve diameter and stuffing-box bore determine the nominal packing cross-section; box depth, gland engagement and the flush arrangement determine how the complete set fits axially.
During start-up the objective is even contact and stable temperature. For conventional braided pump packing, leakage is reduced gradually as the rings bed against the shaft or sleeve rather than being eliminated immediately by heavy gland load.
MEASURE FIRST
The packing set is built around the actual stuffing-box geometry. Measuring the hardware avoids repeating the dimensions of an old ring that may have been compressed, stretched or damaged during removal.
Measure the internal bore where the packing sits. Check for wear or taper that could change the effective clearance around the shaft.
Use the working bore, not an external casting dimension.Measure the diameter in the packing contact area. A worn sleeve can produce a different value from an unworn section.
Record sleeve condition at the same time as diameter.For a conventional square section, nominal packing size is s = (D − d) / 2.
Confirm that the selected packing size fits the actual radial space without forcing the braid.Depth determines how many rings, spacers and lantern-ring elements can be accommodated while retaining gland engagement.
Count the complete compressed arrangement, not only loose components.Measure the axial location of the flush connection relative to the bottom of the stuffing box and the planned ring stack.
The lantern ring must finish at the port after the set is seated and compressed.The follower must enter the stuffing box squarely and retain usable adjustment after the complete packing set is installed.
Insufficient engagement can indicate too many rings, the wrong size or an incorrectly positioned lantern ring.INSTALLATION SEQUENCE
Each operation establishes the position and density of the next. Correcting a poorly seated lower ring with extra gland load at the end usually increases friction without fixing the original void.
Remove old packing, scale and trapped debris from the bore, throat, gland follower and flush passage.
Check shaft or sleeve condition, clearances, box dimensions, gland alignment and lantern-ring components.
Form the packing on a mandrel matching the shaft or sleeve diameter and make clean, repeatable joints without stretching the braid.
Bring the joint together inside the box and seat the ring firmly to the bottom with a suitable tamping or seating tool.
Add one ring at a time. Do not install a loose stack and rely on the gland follower to compress the deepest rings.
Rotate successive joints around the shaft so they do not form one continuous leakage path through the packing set.
Install it at the designed point in the stack so final seating and gland compression leave the lantern ring aligned with the flush port.
Bring the follower down squarely and evenly with light initial load, then adjust in small equal increments after the pump starts.
RING PREPARATION
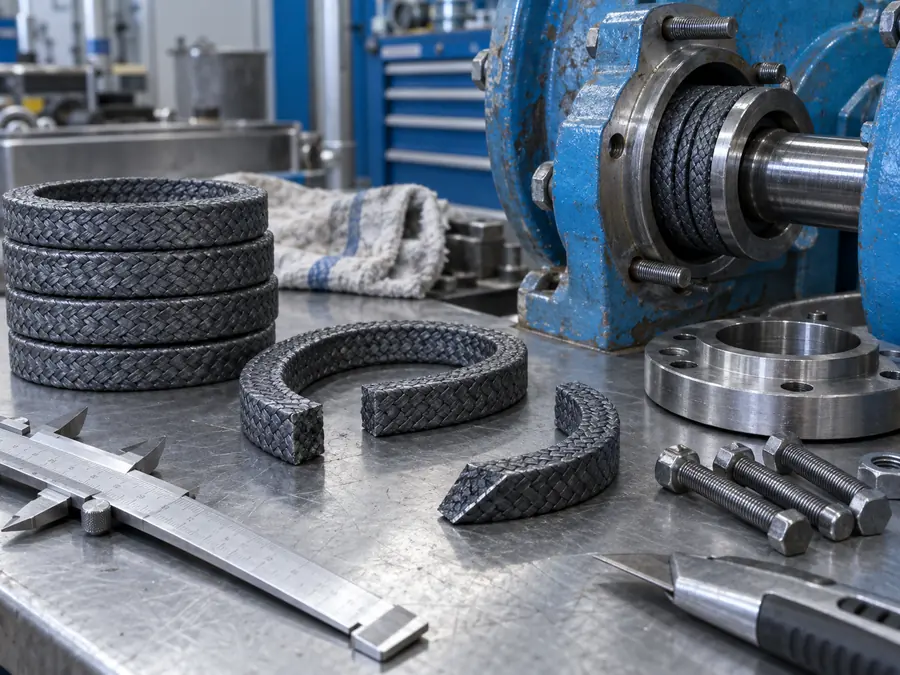
A square butt joint is widely used for pump packing. The ring ends should meet cleanly when fitted around the shaft or mandrel, without a gap and without forcing one end over the other.
Some packing styles and installation procedures use a diagonal joint. The cutting angle and ring length have to match that method; a diagonal cut is not interchangeable with a butt-cut length.
Pre-cut or die-formed rings remove much of the field variation in ring length and cross-section. They still require clean handling, individual seating, joint staggering and correct gland adjustment.
GLAND ADJUSTMENT
After the last ring is installed, bring the gland follower down evenly with light initial load. Start the pump with enough leakage to prevent a rapid temperature rise, then reduce leakage gradually with small, equal adjustments to both gland nuts while the packing seats against the shaft or sleeve.
A sharp rise in stuffing-box temperature means friction is increasing faster than heat is being removed. More tightening at that point drives the set in the wrong direction.
Once leakage and temperature stabilize, recheck the follower position and available gland travel. The follower should remain square rather than being pulled down harder on one side.
FIELD CHECK
| Observation | Likely installation cause | Where to inspect | Correction direction |
|---|---|---|---|
| Heavy leakage immediately | Ring too short, joints aligned, lower rings not seated | Ring fit, joint positions, first-ring seating | Correct the set rather than using excessive gland load |
| Rapid temperature rise | Initial gland load too high or cooling/flush inadequate | Follower load, flush path, lantern-ring position | Reduce friction and restore the required cooling path |
| Follower sits crooked | Unequal nut adjustment or uneven packing density | Gland nuts, studs, ring seating around circumference | Restore symmetrical loading before further adjustment |
| Flush exits mainly at box OD | Lantern ring not aligned with the flush port | Compressed lantern-ring position and lower ring stack | Reposition the set so flush reaches the intended annular path |
| Packing extrudes at a clearance | Excessive gland/throat clearance or incorrect ring fit | Follower ID, throat clearance, shaft runout, ring size | Correct the hardware or use the appropriate anti-extrusion arrangement |
| Gland travel disappears quickly | Wrong ring count, wrong cross-section or rings not seated before assembly | Box depth, ring stack, packing size | Rebuild the set to the measured stuffing-box geometry |
INSTALLATION ERRORS
Removed packing may be stretched, flattened or thermally changed, so its dimensions can reproduce the previous problem.
A spiral or coil does not create separate sealing rings and gives poor control over joint position and ring density.
Gland load is strongest near the follower and may not seat the deepest rings sufficiently.
Stacked joints create a direct leakage path through the set and concentrate local deformation.
The ring can move axially as the lower packing is seated and compressed, leaving the flush port partly or fully blocked.
Heavy early gland load increases friction before the packing has established stable contact and heat removal.